

Practicing for Self-Defense
W hen you go to the range to practice with your concealed carry handgun, you need to do more than just stand at 10 yards and shoot a few magazines at a target. If you have a range that allows it, you should do a lot of move and shoot drills and shooting from concealment.
Put up a target, then park your car about 25 yards from the target. Start at about seven yards, draw your weapon and fire two rounds, then, firing as you move, fire a round and move, fire a round and move, until you reach the vehicle, then use the vehicle as cover to fire the remaining rounds, then reload as quickly as possible.
This teaches you to move and shoot. Firing one round every couple of seconds gives you the maximum amount of cover fire and allows you to keep your opponent’s head down as you move to cover. For instance, with a Glock 17 holding 18 rounds fully loaded, you can, by firing one round every two seconds, keep an opponent down for more than 30 seconds. That is a long time in a gunfight.
If you run out of rounds during your movement, practice reloading on the run, but do it safely. If you are not practiced in reloading as you move, stop, reload, and then continue. In everything you do, think safety first.
Another thing you need to practice is firing at multiple targets, again firing as you move. Remember that if you are faced with a shooting situation, you should always try to find cover. You should never stand toe-to-toe with an opponent and shoot it out unless you have absolutely no other options. Cover is life.
Now, put up three targets with at least one target width between them, more if possible. Then back off 10 yards, draw, and put two shots on each target. After reloading, do the same thing; but this time, move between each pair of shots, putting distance between you and the targets.
Now move up to within three yards of the target on the left. Draw and fire two rounds unaimed, then start moving to your right and back, firing two rounds at each of the other targets as you move.
If your range is equipped with steel targets, make use of them. Falling plates and pepper poppers are great training aids. The best training is where the falling plates and a hostage target are placed side by side. Start on the falling plates, then as you finish the plates, reload and engage the hostage target.
Start slow. Speed will come as you practice. Don’t try for speed. Shoot for accuracy and the speed will come, in time.
A group of as many as six pepper poppers is also a great training aid. They can be moved around to simulate various shooting scenarios.
For instance: Set up three poppers on the left, place your vehicle or other cover 25 yards back, and then place another three poppers to the right. Now from 10 yards draw and engage the three on the left as you move to your cover, reload and engage the three on the right from cover. This is teaching you to think on your feet.
There are endless scenarios that can be simulated with steel targets.
If you are near a range that hosts shooting matches such as IPSC or IDPA, I strongly urge you to try it. You probably won’t win, but it is some of the best practice in the world for the concealed carry permit holder. It gives you a lot of trigger time, and the competition adds some stress that you will never experience if you practice by yourself. And if you stay with it you may, in time, win a few.
A wise man once said: “People become good shots just as they become good tennis players, good golfers, and good baseball players, or anything else—by intelligent practice. A man who would enter a golf tournament with only one round of practice behind him in a year would be considered eccentric, if not actually off the beam….”
If you would consider it wise to practice for any of the sports mentioned, it only makes sense to practice even more for a situation that may involve life or death.
—Steve LaMascus
—BY STAN SKINNER
[info_box title=”TACTICAL GEAR REVIEW” image=”” animate=””]

[heading tag=”h2″ align=”center” color=”#ffffff” style=”lines” color2=”#ffffff”]Awkward Positions [/heading]
On a flat shooting range it’s most comfortable to just sit on a rock-solid bench, with your rifle secured by sandbags, and put the tightest groups possible on a sheet of paper 100 yards away. This definitely has its place in testing your rifle, ammunition, and marksmanship skills under prime conditions. However, defensive shooting in the real world isn’t as kind.
If you are faced with a defensive situation, you will most likely be reacting to a threat who had the advantage of choosing the time and place of the attack. You are forced to adapt to the current environment. This is why we train to shoot in awkward positions that are less than ideal.
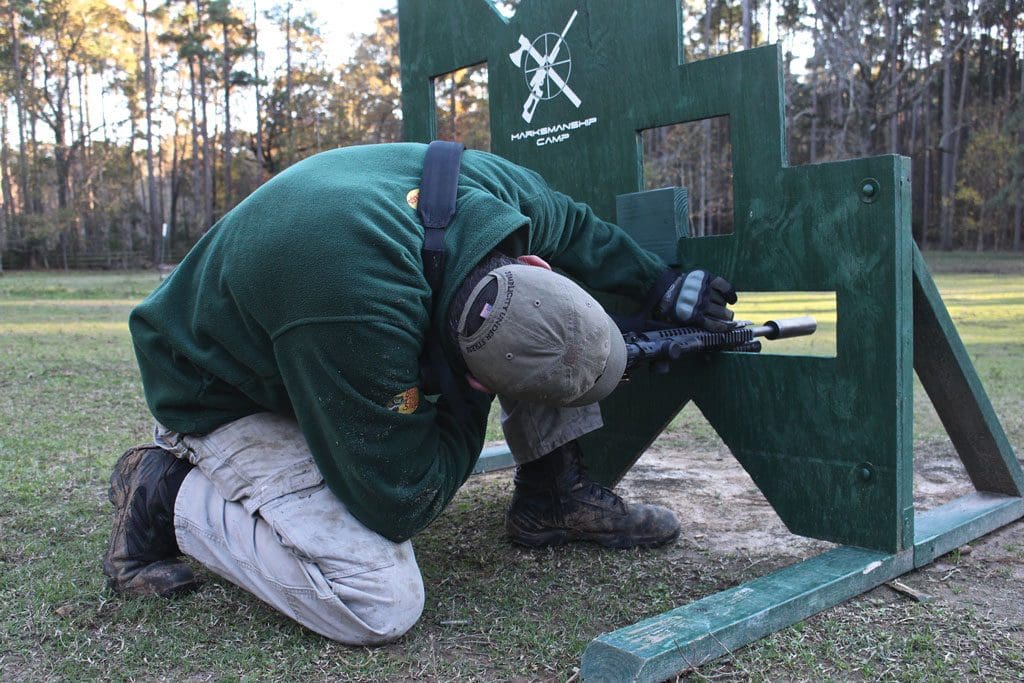
In competitions and tactical drills, we occasionally fire through small horizontal slots in barricades that force you to know how your rifle shoots when holding it at a 90-degree angle. This type of shooting can help when firing from under cover or concealment such as underneath a vehicle or other barrier or in the “roll over prone” position that places you as low to the ground as possible.
Considering the clearance needed for a longer defensive rifle magazine, turning your rifle sideways allows you to get nearly a foot lower to the ground. This position is rather awkward to most shooters so it’s a foreign concept. In the past I had not tested shooting with my rifle held at 90 degrees, so I was forced to figure it out on my own during a training session while hoping to see the bullet splashes in the berm and compensate accordingly.
For this experiment I used my Adams Arms AR15 in 5.56mm/.223 rifle topped off with a 1-4x Trijicon Accupoint from a bench at 50 yards with a confirmed 50 yard zero. Because I’m right handed/right eye dominant, shooting with the gun on its left side on the bench was easiest for me because the optic was turned towards me.
I found that from this position at the same distance the point of impact was almost four inches 7 o’clock of the point of aim. This change is predictable when you think of the arc of the bullet, scope over bore, and offset change from when the rifle is held vertical. Shooting with the rifle on the right side found the point of impact to be a little lower at 5 o’clock than shooting on the rifle’s left side.
When shot from 100 yards with the rifle on either side the bullet drifted nearly nine inches to either 5 or 7 o’clock depending on which side it was fired from. That would definitely result in a miss from this distance.
We have two lessons to learn from this experiment. First, you should practice in those awkward positions in order to learn your rifle better and become a better marksman under a variety of conditions. Next, as known to most precision shooters, rifle cant matters. Your optic is mounted directly over the bore of your rifle for a reason, and we must keep that in mind for any rifle engagements in order to shoot straight.
—Dustin Ellermann
[/info_box]
—BY DUSTIN ELLERMANN
[button title=”Return to CONTENTS Page” link=”https://fishgame.com/1602-February-issue/” target=”” align=”” icon=”” icon_position=”” color=”” font_color=”” size=”2″ full_width=”” class=”” download=”” rel=”” onclick=””]