

Building Your Own AR-15 Lower Receiver
A s I’ve mentioned previously, shooters have an amazing variety of barrel types, weights and chamberings to choose from when assembling their personal, custom AR-15.
In addition, you can choose from (in addition to iron sights) reflex sights, red dot sights, holosights, and a wide array of fixed- and variable power rifle scopes. For night hunting (it’s legal here in Texas), you can mount infrared, light amplification or thermal sights.
If you are prepared to deal with the red tape required under the National Firearms Act of 1934, undergo an FBI background check, pay a $200 transfer tax, then wait for nearly a year for approval, you can add a silencer to your new rifle.
With subsonic loads available in the .300 Whisper/Blackout chambering and one of the night vision options mentioned above, you have heap powerful medicine for dealing with the pesky feral hogs that cost Texas ranchers and farmers upwards of $50 million annually.
You have lotsa choices, so knock yourselves out.
However, I did not mention that you have a few possible lower receiver types to pick from, as well. The first is the common mil-spec aluminum receiver, which is forged from aircraft-grade aluminum and finish machined to final dimensions. This assembles into a very good AR-15 and is generally low-priced, unless you opt for an expensive trademark, such as DPMS, Bushmaster, Ruger, etc. The first five I assembled were this type, and I have used them without any complaint for several years.
The second type is a “billet” aluminum receiver. This requires some explanation about what that means. Billet aluminum starts as a solid block of metal. The billet is formed into an AR-15 lower (or upper) receiver by machining away the excess metal, actually carving the receiver out of the aluminum block.
This is a significantly more costly manufacturing method, and it is usually reflected in a much higher priced product. The main advantages are a high degree of precision and that the receiver is structurally stronger.
The third type is polymer construction. Properly designed with high-strength metal inserts at crucial wear points, a polymer receiver (upper and lower) is extremely light. Mated with a light-weight buttstock group, pencil barrel and a titanium bolt carrier group, it is possible for the finished rifle to weigh just a few ounces over four pounds—that, my friends, is pretty awesome.
Just last week, I put together a polymer lower from Kaiser Shooting Products in Tucson, Arizona. I mated it to a polymer upper with a 16-inch pencil barrel from the same outfit. Although my MagPul buttstock was a few ounces too heavy and my relative poverty left me unable to afford a (pretty expensive) titanium BCG, my finished rifle weighed a mere five pounds, 2.8 ounces.
I am well-acquainted with Kaiser’s owner and proprietor, Mike Beitsch, whom I met while researching an article for another publication. He had loaned me a test rifle that had already fired 40,000 rounds of 5.56×45 NATO without a single malfunction.
Out of curiosity, I put a couple hundred rounds through it myself—still no malfunctions. Of course, after 40,000 rounds the rifling was toast.
I am here to tell you, however, that 60 rounds from a SureFire hi-cap magazine at intervals of a second or two proved highly entertaining when I inserted my patented barrel cooler into the chamber afterward. This device emits a fine mist of water into the bore to cool the barrel.
Instantly, we heard loud crackling sounds while steam shot from the muzzle in big puffs. This went on for a minute or so, until the barrel cooled down enough that no more steam emerged, and only hot water dribbled from the muzzle. Don’t try this at home unless you want to buy a new barrel, toot sweet.
After this episode, the rifle continued to function flawlessly, although the ruined barrel produced groups akin to a full choke shotgun pattern.
Back to the lower receiver assembly process—Here are a few tips for those of you still brave enough to assemble your own AR-15.
No. 1: The first task you face when you assemble a mil-spec receiver is to install the trigger guard hinge. The hinge pivots between a pair of “ears” at the rear of the trigger guard, and you need to insert a roll pin to install the hinge between the “ears.”
The “ears” are fragile. Use a wooden block to support the ears as you tap the roll pin in place or you risk breaking them. If you do break one, your lower receiver just became scrap metal.
Most billet and polymer lower receivers have a fixed, oversize trigger guard. If you are assembling either of these, you can omit this step.
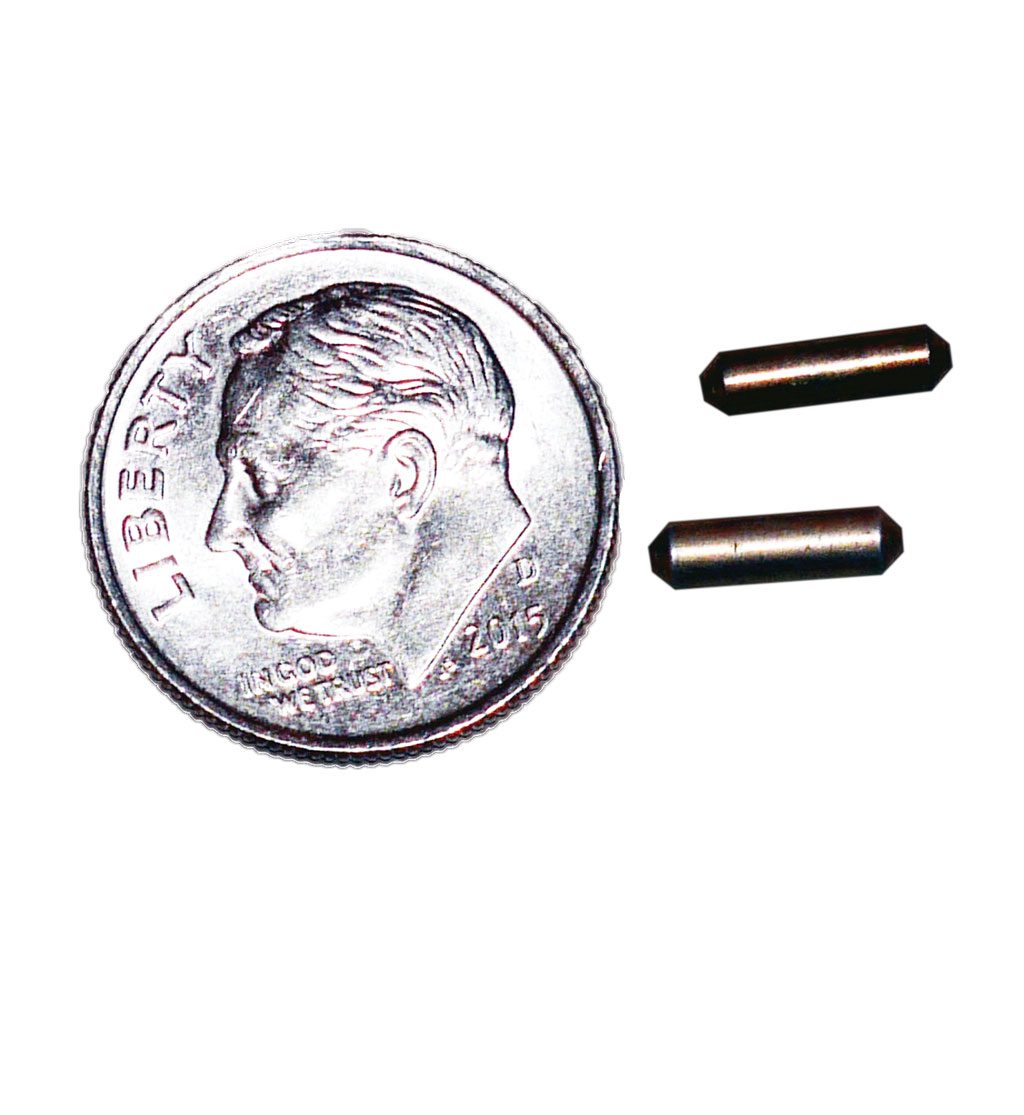
No. 2: As mentioned last month, the pivot pin detents are tiny and subject to sudden transport into another dimension. You’ll do well to have some inexpensive spares on hand. However, they are not the only disappearing parts. The buffer retainer pin is larger, but can also be launched into oblivion. A spare (equally inexpensive) is a good idea.
No. 3: Some parts kits supply a pistol grip screw with an ordinary slot to tighten it in place. It fits into a hole way up inside the hollow pistol grip. Unless you have really long, skinny fingers, the space is too cramped to easily slip the screw into the hole and keep the slot engaged with your screwdriver. You’d do well to obtain a hex head pistol grip screw (another inexpensive item) if your parts kit doesn’t provide one.
If your soul is hardy enough, I haven’t scared you off from assembling your own AR-15. I know it seems involved, intricate, tedious and fraught with pitfalls and problems, but it’s not as bad as I’ve made it sound. After all, I—ham-handed as I am—now have a half-dozen completed ARs to show for my efforts.
You can do it, too. The result will be an AR that is truly yours in a way no store-bought rifle will ever be.
—by Stan Skinner
—BY STAN SKINNER
[info_box title=”TACTICAL GEAR REVIEW” image=”” animate=””]
Optimized Battle Rifle
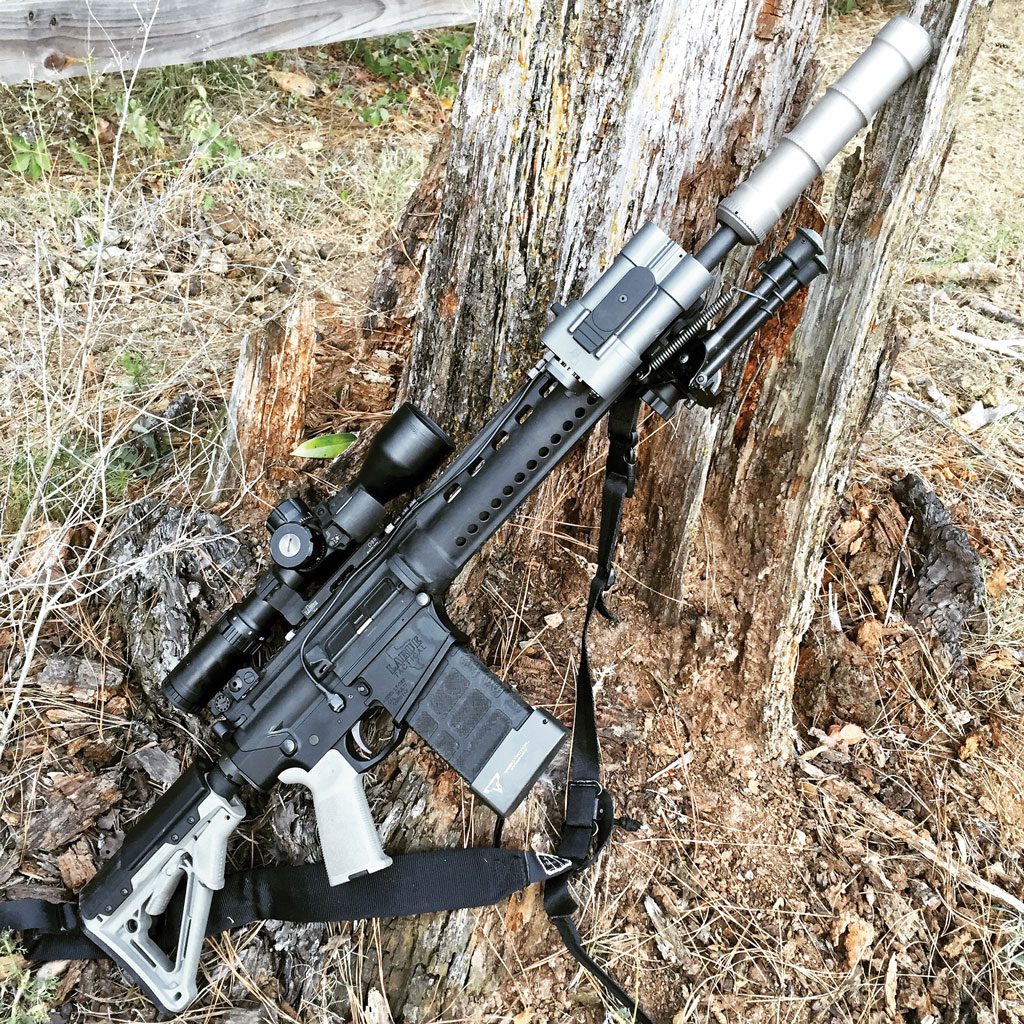
I suppose you could say it was love at first sight. We were filming the first episode of season three of Top Shot when they brought out the LaRue Tactical 7.62 Optimized Battle Rifle (OBR). Before this my knowledge of LaRue Tactical was limited to their quick throw lever return to zero optic mounts, so I was excited to be able to get my hands on the OBR.
With my previous AR rifle experience being low budget mil-spec rifles only, I could instantly see a difference in the OBR. It wasn’t the lightest rifle, and being chambered in .308 Winchester it was also more robust. The action was tight, yet smooth. It had the best trigger I’ve ever felt on an AR, and the entire firearm was solid without a hint of rattle.
Since then, I’ve been able to spend a lot more time with the OBR and it’s still one of my favorite rifles. I have the 16-inch version and have impressed several other shooters by being able to reach out past 1,000 yards.
I mostly shoot 168 grain Sierra Match Kings traveling only 2,400 FPS handloaded on a Redding T7 press. This is rather slow for a .308 since it will transition to subsonic after 800 yards, yet it’s worked for me. At 100 yards, my best groups are around 0.3 inches so it certainly has amazing potential for a semi-automatic rifle.
The OBR’s system is further optimized by its Port Selector Technology (PST) gas block that allows the shooter to reduce overpressure (caused by shooting suppressed) by simply flipping a switch. This, in addition to being a finely tuned semi-automatic rifle lends itself to being a very soft shooting rifle.
By comparison a .308 wood-stocked, bolt action-hunting rifle is brutal. It’s not unpleasant at all to empty a 20 round magazine out of the OBR. In fact, when a friend shot my suppressed OBR once he actually had to ask whether the gun fired after his first trigger pull.
I have my OBR setup with a Bushnell Elite Tactical HDMR with a Horus reticle and also have added a 45 degree mounted Meopta MRAD micro red dot for close quarters work. That’s another wonderful point about the 16-inch OBR. Although it is capable of precise accuracy for long-range engagements, the standard M110 20-round magazine and low recoil make the OBR possible to use in a fast-fire, close quarters situation as well.
As I mentioned earlier, at 9.5 pounds naked, this rifle is a bit on the heavy side. Once loaded-up, mine is pushing over 15 pounds, so hauling through the trails on a hog hunt gets old quick. However in a box blind, I’ve taken a whitetail and coyotes out to nearly 300 yards.
I took my longest shots while visiting the NRA Whittington Center in New Mexico. The white buffalo target got old pretty quick after being able to hit the 16-inch bullseye time and again at 1,123 yards. However I did have a ballistic advantage with the mountain elevation.
The best isn’t the cheap. LaRue rifles start at $1,800, and the OBRs can run over $3,000. But if you want a guaranteed sub-MOA, rock-solid, battle-ready, bet-your-life-on, made-in-the-dead-center-of-Texas rifle, your only option is LaRue.
—by Dustin Ellermann
[/info_box]
—BY DUSTIN ELLERMANN
[button title=”Return to CONTENTS Page” link=”https://fishgame.com/1709-September-issue/” target=”” align=”” icon=”” icon_position=”” color=”” font_color=”” size=”2″ full_width=”” class=”” download=”” rel=”” onclick=””]